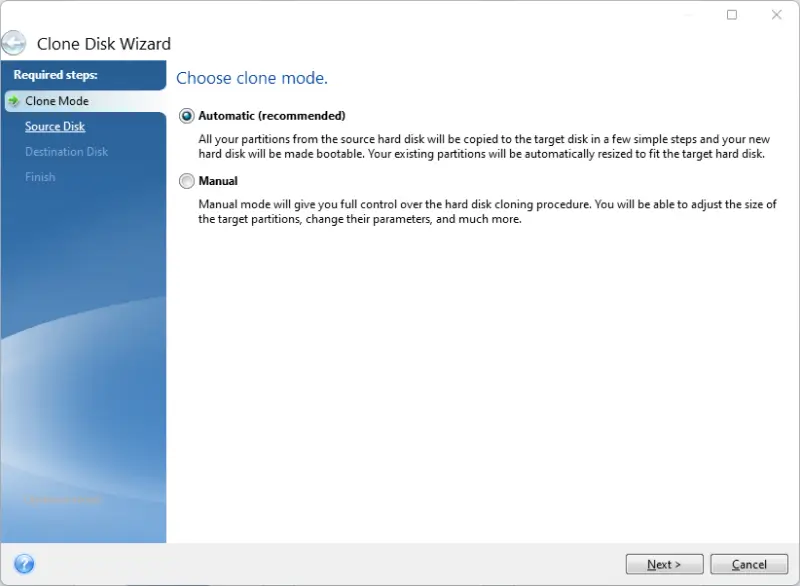
On the Clone Mode screen, choose the data transfer mode (Automatic or Manual), depending on whether you need to change the disk partition layout. Most experts do not recommend Manual for inexperienced users.
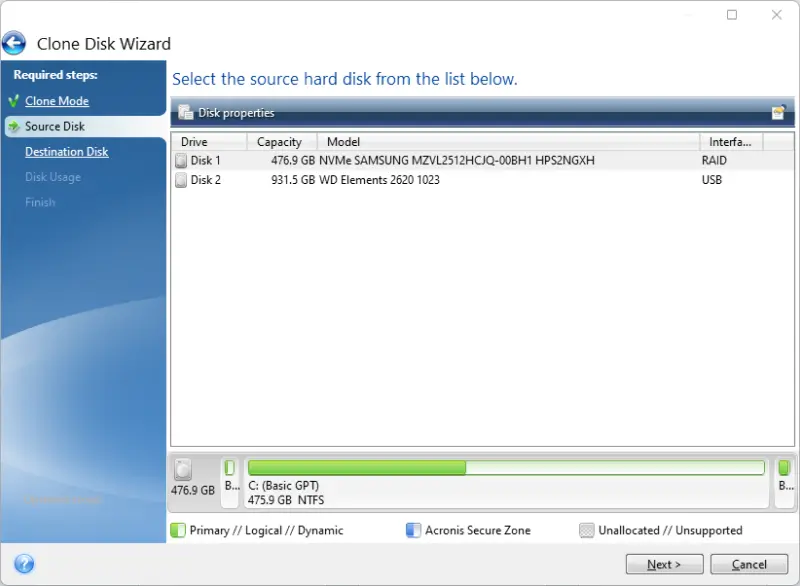
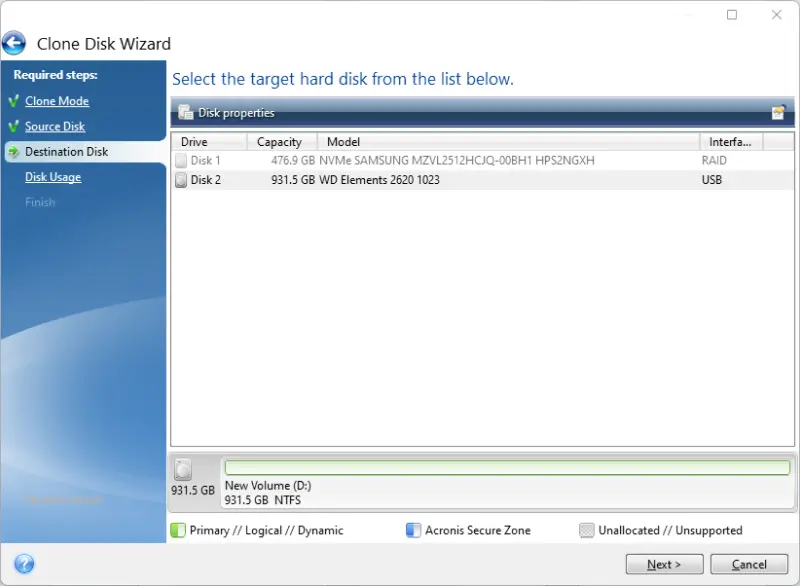
Now, on the Source Disk screen, select the laptop’s drive. Then, select the target disk on the Destination Disk screen, which should be the external drive.
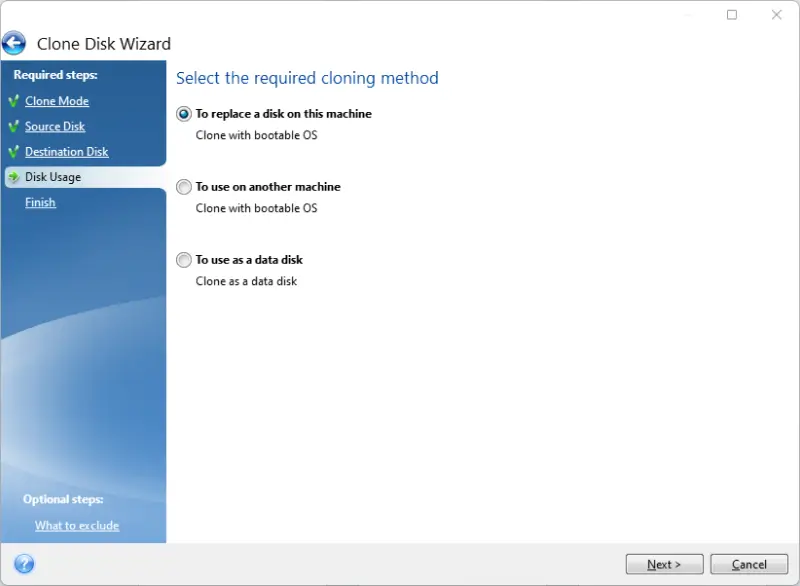
Next, the software gives three options corresponding to usage scenarios for the clone image.
- Replacing a disk on the laptop
- Using the image on a different machine
- Creating a disk image (no bootable operating system)
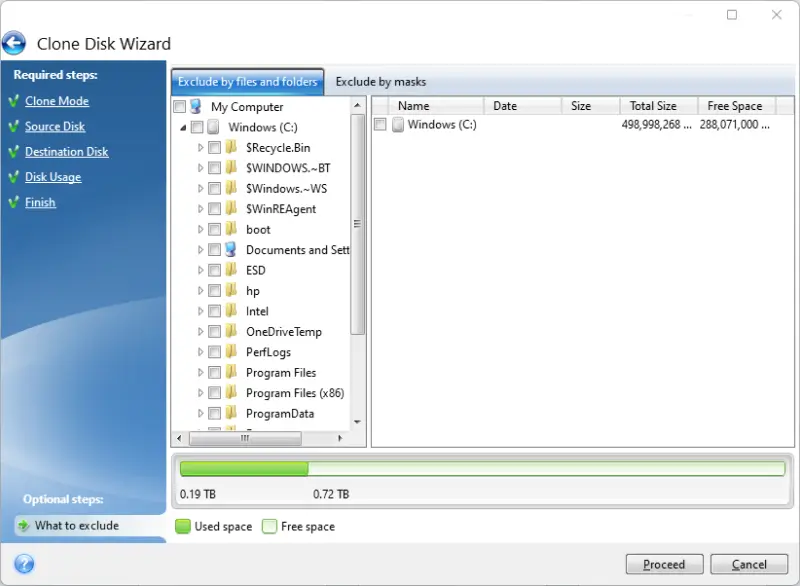
Before the final step, the user can exclude some files and folders from the cloning process. The clone will not include this data in the generated image. The option is available in the bottom-left corner of the window.
Finally, review the settings, then click Proceed. The cloning process will start.
Macrium Reflect Free Trial
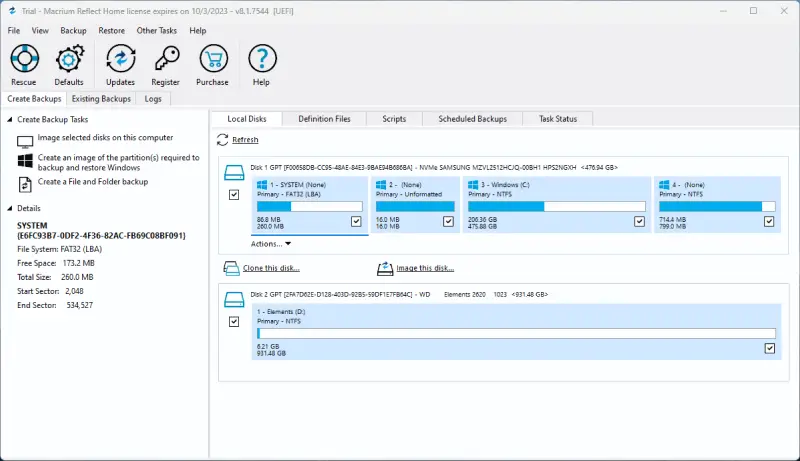
Macrium Reflect is another popular choice for users who want to create a system image with freemium software. The Macrium Reflect tool comes with a 30-day free trial. It also has an intuitive interface and multiple options. However, Macrium Reflect is only compatible with Windows. To create a laptop clone with a Macrium Reflect free trial, scan a local disk on the main screen and select the Clone this disk… option for the computer’s primary drive.
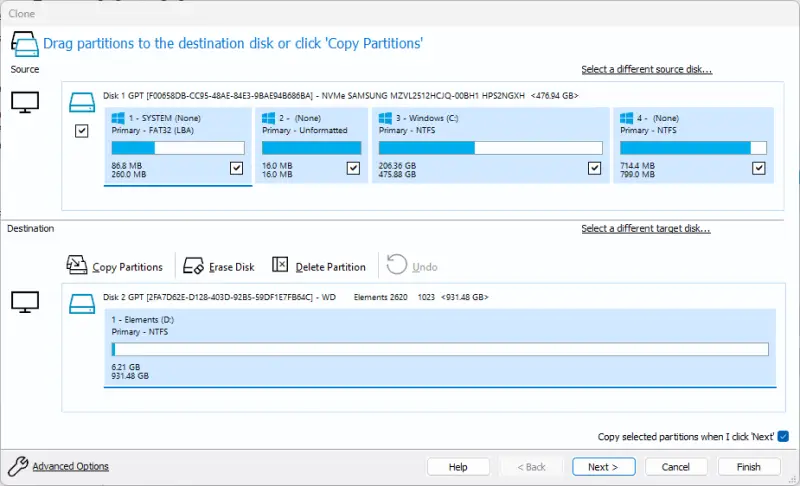
Next, on the Clone screen, select the destination disk.
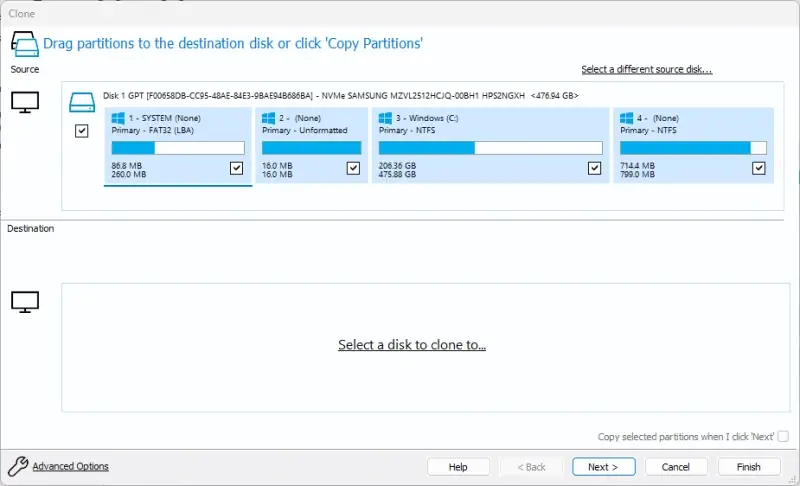
Confirm that the destination disk is correct and can hold the clone.
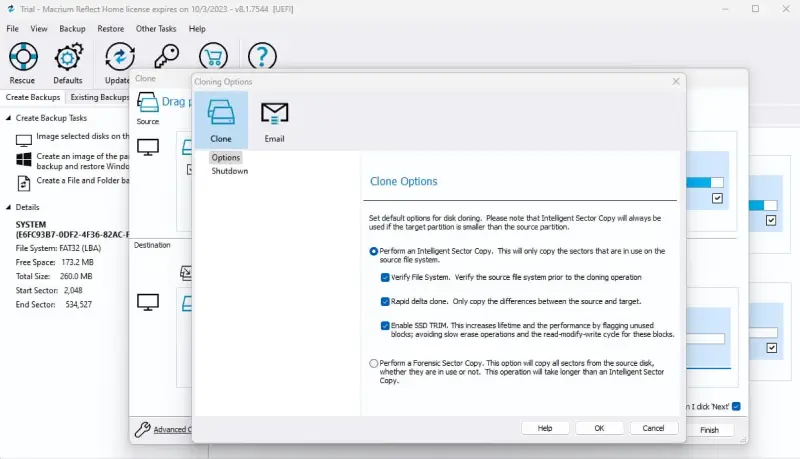
At this stage, you can click Advanced Options in the bottom-left corner of the window, which will open a menu of additional settings. These settings include data verification, SSD TRIM, performing a forensic sector copy, shutting down the system after cloning, or sending a confirmation email upon completion.
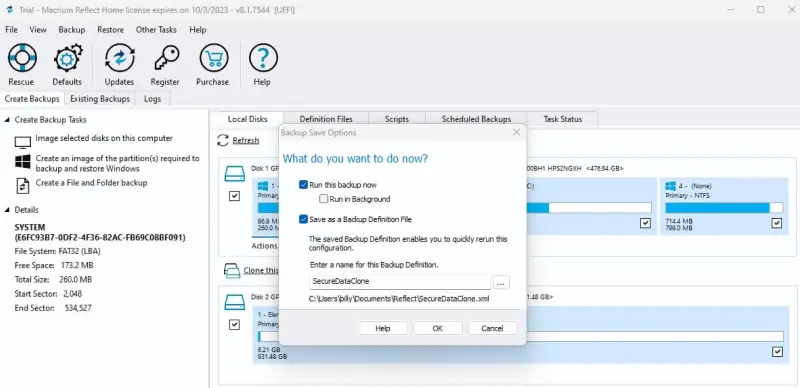
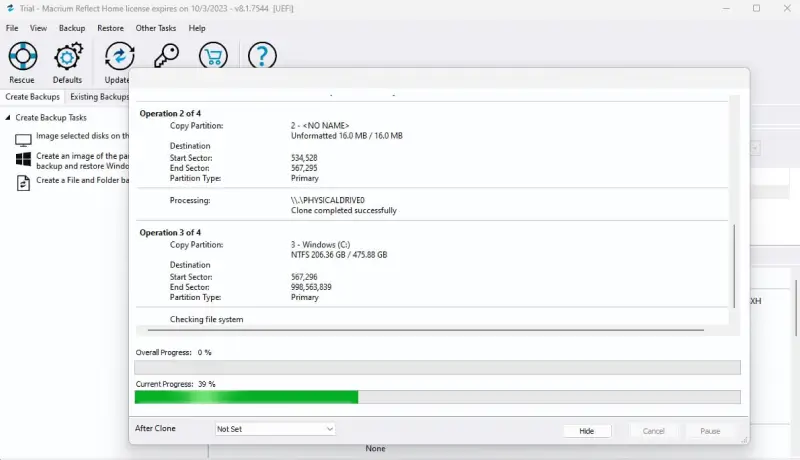
In the following steps, Macrium Reflect asks whether you want to schedule the cloning process or perform the operations immediately. Afterward, Macrium Reflect provides a summary of functions and options for verification. Finally, users must name the image and click OK, which starts cloning.
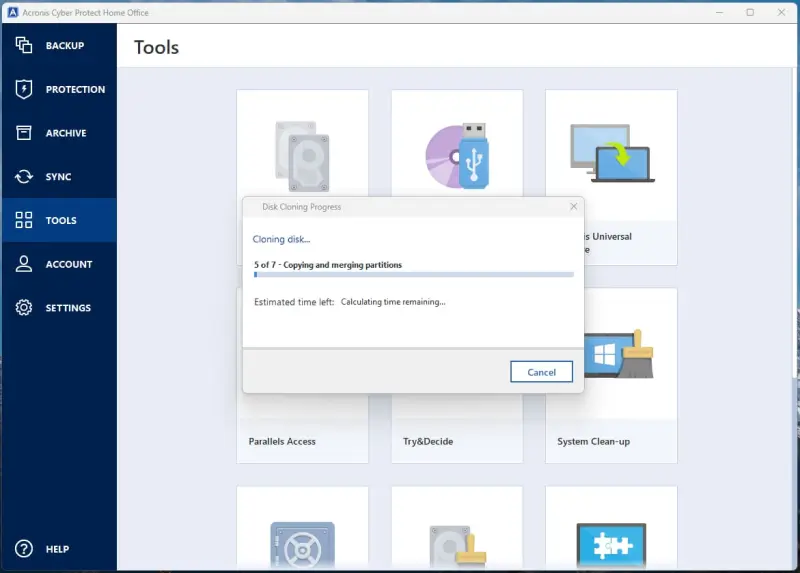
Macrium Reflect will also report the overall or specific progress of the cloning process.
Clonezilla
Clonezilla is the best choice for those who value the freedom to use tools without licensing, time, or limitations. Clonezilla is an open-source cloning software that creates a bootable OS image. However, it is not as user-friendly as Acronis Cyber Protect Home Office or Macrium Reflect. Clonezilla supports many file systems, offers numerous partitioning options, and can perform simultaneous cloning on up to 40 machines.
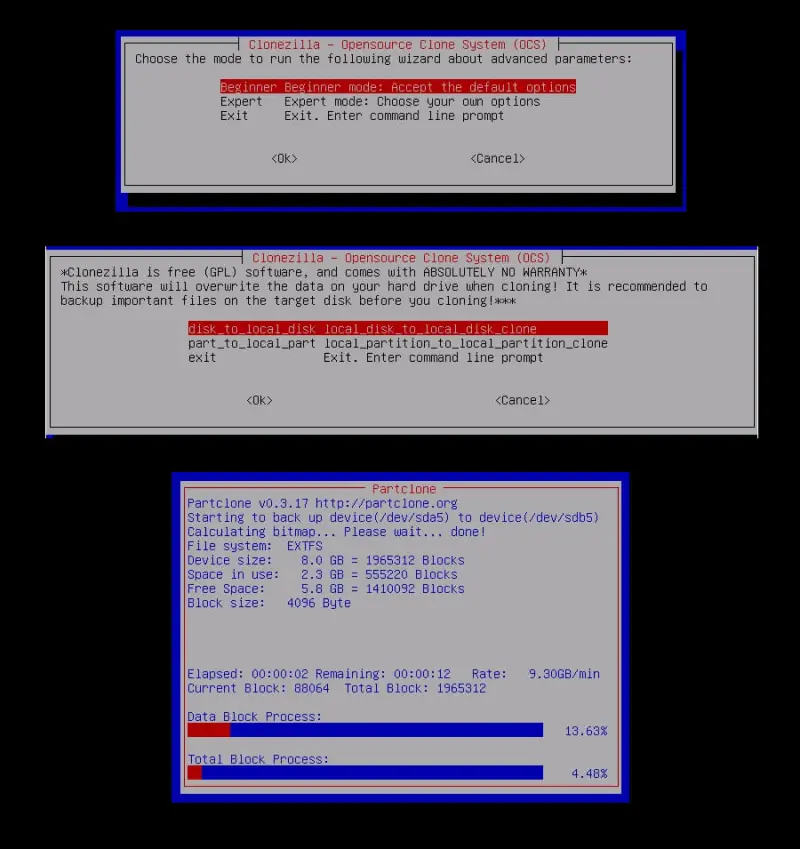
If you want to try Clonezilla, consider starting with their cloning guide.
Other Options
Of course, there are other cloning options beyond the software highlighted here. While finding the perfect fit could require experimentation, the aforementioned tools should address many typical scenarios.
Cloning Tips
During the cloning process, it’s advisable to keep your laptop connected to a power source to avoid interruptions. Close resource-heavy applications to optimize performance and achieve optimal results with your cloning tool.
Cloning can be time-consuming, especially depending on the amount of data being copied. Even minor bottlenecks can significantly extend the process, so using a SATA connection or Thunderbolt port instead of USB can speed things up.
If your laptop supports multiple USB generations, opt for the newest version available. For example, prioritize USB 3.2 2×2 (20 Gbps) over older USB 2.0 (480 Mbps) for faster data transfer speeds.
Before starting the cloning process, perform a system cleanup to reduce the amount of data being copied. Deleting large files, emptying the Recycle Bin, or clearing caches can expedite cloning significantly.
Other considerations include:
- Dynamic disks cannot be cloned.
- Source and destination disks must have equal logical sector sizes.
- Ensure both disks operate in the same controller mode.
- Unlock encrypted disks before cloning.
- Disks in poor condition may not clone successfully.
- Windows licenses tied to hardware may require reactivation on a new device.
- Some cloning tools use proprietary file formats, limiting access outside of the software.
Post-Cloning Advice
After cloning, the crucial step is to verify that the new image is bootable:
- Connect the external drive containing the cloned image.
- Restart the laptop and access the boot menu by pressing the designated key during startup.
- Select the option to boot from the external drive.
Successful booting indicates a successful cloning process. If the system fails to boot or exhibits issues, the cloned data might be corrupted, necessitating a reattempt.
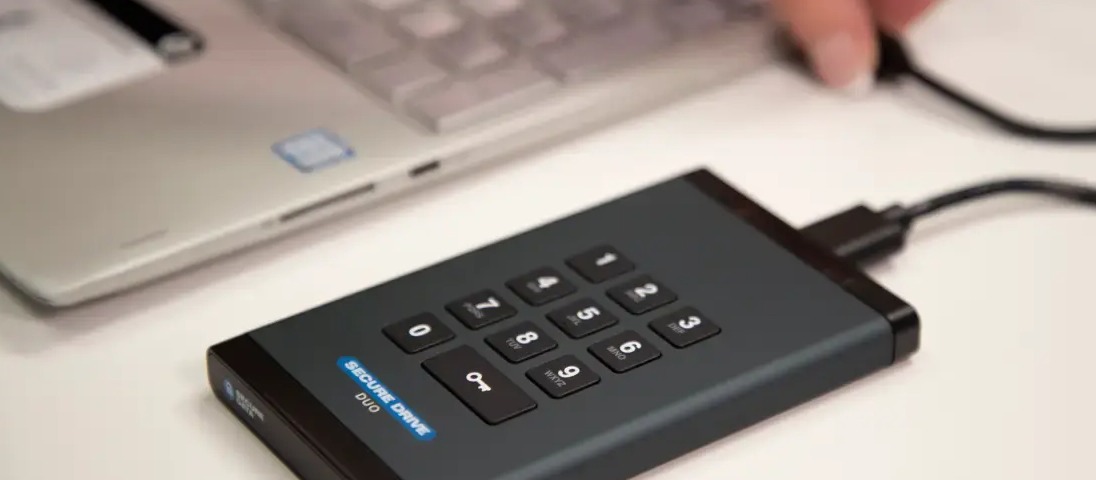
To enhance security, consider encrypting the cloned image to protect sensitive data from unauthorized access. External drives are prone to loss or theft, making encryption essential for safeguarding financial records, personal photos, and other private information.
All major operating systems offer built-in encryption tools like BitLocker (Windows), FileVault (macOS), and LUKS (Linux). Hardware-encrypted external drives add an extra layer of security with password protection, ideal for secure backups.
Despite precautions, data loss can still occur. In such cases, Secure Data Recovery, with over a decade of experience and a 96% success rate, specializes in recovering lost data from challenging scenarios.
Source: https://www.securedata.com/blog/how-to-clone-a-laptop-to-an-external-drive
About DT Asia
DT Asia began in 2007 with a clear mission to build the market entry for various pioneering IT security solutions from the US, Europe and Israel.
Today, DT Asia is a regional, value-added distributor of cybersecurity solutions providing cutting-edge technologies to key government organisations and top private sector clients including global banks and Fortune 500 companies. We have offices and partners around the Asia Pacific to better understand the markets and deliver localised solutions.